Decoupage Coasters: Step-By-Step Process, DIY Ideas, And Gift Options
Decoupage coasters are a creative and practical way to inject a little personality into your home whilst protecting furniture from moisture and heat. It is a decorative craft whereby you apply patterned paper or napkins onto coasters using a special adhesive.
In this guide, we help with insights to create stunning decoupage coasters with unique and stylish designs. The key lies in proper preparation, application, and sealing, and these DIY projects are budget-friendly for an excellent gifting or hobby idea.

Key Takeaways
- Decoupage coasters are affordable and creative, and you can make them from materials like wood, ceramic, and tiles.
- The process requires careful application of adhesive, smoothing the paper, and sealing for durability.
- It is crucial to learn to separate napkin layers and apply them correctly, and there are many sealants available to protect your design against damage and heat.
- We supply high-quality custom coasters that you can personalize with decoupage-style designs and have made from a range of materials at competitive prices.
Table of contents
-
Decoupage Coasters
-
How To Make Decoupage Coasters Step By Step
-
How To Decoupage On Wood?
-
How To Make Coasters Out Of Ceramic Tiles And Napkins?
-
How To Waterproof And Seal Decoupage Coasters?
-
Can You Use Mod Podge On Decoupage Coasters?
-
How To Make Decoupage Coasters Heat-Resistant?
-
Best DIY Gift Ideas Using Decoupage Coasters
-
Popular Decoupage Coaster Designs And Themes
-
How To Add Cork Backing To Decoupage Coasters?
Decoupage Coasters
Decoupage is a decorative technique that revolves around gluing paper, napkins, and fabric onto surfaces like wood, ceramic, or tile before sealing with a protective layer. Decoupage coasters are a popular DIY project due to their ease, affordability, and customizable nature.
With this method, you can transform plain coasters into elegant, stylish accessories that can match any decor. Coaster decoupage offers up opportunities to create various designs, including:
- Floral
- Vintage
- Modern
Choose the right materials, from quality napkins to durable sealants, to achieve a long-lasting, robust piece. You can use decoupage coasters as unique home decorations, handmade gifts, or an eco-friendly upcycling project. Alternatively, work with us to create custom ceramic coasters with professional decoupage-style designs.

How To Make Decoupage Coasters Step By Step
Creating decoupage coasters at home is a straightforward project if you have the right materials and techniques. In fact, research has shown that there are benefits of decoupage as an art therapy technique. From gathering your materials to finishing with a sealant, let’s look at the steps to successful coaster decoupage:
- Gather materials: You will need your coaster bases, decorative napkins, decoupage glue (like Mod Podge), a foam brush, and a sealant.
- Prepare the coasters: Clean and lightly sand wooden or ceramic coasters to ensure a strong adhesion.
- Work on the napkins: You must separate the napkin layers, keeping only the top printed layer.
- Glue: APply a thin coat of decoupage glue to the coaster and place the napkin on top carefully, smoothing out wrinkles.
- Dry: Allow it to dry completely before sealing with multiple layers of varnish, Mod Podge, or polyurethane.
Common mistakes include over-saturating the napkin with glue or applying the sealant unevenly.
Looking for elegant and colorful coasters for your tables?
Work with us to create custom tile coasters and add vibrant, whimsical designs that mimic decoupage art to enjoy this wonderful aesthetic alongside excellent surface protection.
How To Decoupage On Wood?
Decoupaging on wood requires careful preparation to ensure you achieve a smooth, lasting finish. There are several key steps to consider for a successful project:
- Choose wood coaster bases that are sanded and free of dust or oils.
- If the surface is rough, sand it lightly and wipe clean before applying adhesive.
- Choose a decorative napkin or printed paper and separate the layers.
- Apply a thin, even coat of decoupage glue with a foam brush.
- Gently place the napkin on the coaster, then smooth out bubbles carefully.
- Once dry, apply multiple layers of sealant to protect the design.
Decoupage is one of many fantastic wooden coaster design ideas, and it can yield beautiful results.
How To Make Coasters Out Of Ceramic Tiles And Napkins?
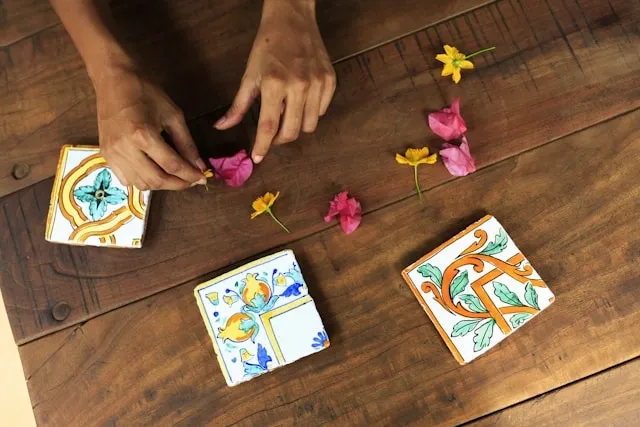
Ceramic tiles are another excellent base for coaster decoupage as the surface is smooth and durable. The first step is to clean the tile thoroughly to remove dust or grease, then dry it completely. You are then ready to begin:
- Choose your napkin: You will need a patterned napkin, and you must carefully separate the layers so you have only the printed one.
- Apply adhesive: You need a thin layer of decoupage glue on the tile, then you should carefully place the napkin on top.
- Smooth it out: Remove any air bubbles with a dry brush or plastic wrap to avoid tearing.
- Seal: Allow it to dry completely before applying multiple coats of sealant for waterproofing.
Consider adding a cork backing to prevent scratches on surfaces. Using decoupage coasters ideas, like floral patterns or abstract designs, you can create stylish and practical DIY coasters.
How To Separate Napkin Layers For Decoupage?
Separating napkin layers properly is essential to get the right finish for decoupage. Most decorative napkins have 2-3 layers, but only the top layer carries the printed design. Separate them by gently rubbing the edges of the napkin between your fingers. If it is difficult to peel, a small piece of tape on the corner will help lift the top layer.
Some people like to dampen their fingers to grip the napkin better. Proper separation leads to a more refined, professional-looking coaster decoupage project.
Add a flower-based design to your coasters in any material
When you work with us, you can create custom floral coasters in a decoupage style to display images of any flowers on your choice of coaster material.
Learn moreHow To Waterproof And Seal Decoupage Coasters?
Sealing decoupage coasters is essential to ensure they are protected from water damage and built to stand the test of time. After the decoupage glue has dried, you are ready to apply multiple layers of a water proof sealant. Popular choices include:
- Clear varnish
- Polyurethane
- Mod Podge Outdoor
You should apply your sealant in thin layers, and use a foam brush or spray for even application. Allow ample drying time between coats. For extra protection, a final coat of acrylic or resin sealer can be used to ensure your coasters are fully water-resistant.
Common mistakes include using too much glue or not letting the sealant dry fully before using the coasters. If you want a hassle-free option, work with us to create custom personalized coasters that mimic decoupage designs on a range of materials.

What Is The Best Sealer For Decoupage Coasters?
Choosing the right sealant for coaster decoupage will ensure durability and protect against spills and heat. From varnish to specialist sealers, let’s look at the most popular choices:
- Varnish: This is ever-popular because it adds a glossy, durable finish.
- Polyurethane: This adds a strong protective coat that endures frequent use.
- Mod Podge Hard Coat: An excellent option for a smooth, matte appearance.
- Mod Podge Dishwasher Safe: Enjoy extra waterproofing from this.
- Triple Thick by DecoArt: An ideal choice if you prefer a high-glass, resin-like finish.
When considering how to make coasters waterproof, consider factors like the level of exposure to moisture, the desired finish, and ease of application. We recommend testing your sealer on a sample piece before the final application.
Can You Use Mod Podge On Decoupage Coasters?
Mod Podge is one of the best adhesives and sealers for creating decoupage coasters. It can be used as the glue for attaching the napkin and also a protective topcoat, ensuring you have an elegant and durable coaster surface.
Mod Podge can deliver various finishes as there are matte, gloss, and dishwasher-safe varieties. When you use Mod Podge, consider the following best practices:
- Apply a thin layer to the coaster before placing the napkin.
- Once dry, add multiple layers on top.
- Make sure you allow each coat to dry before adding the next.
Mod Podge offers enough water resistance for your beer mugs and other drinkware, but it is not fully waterproof unless sealed with an additional clear acrylic spray or resin coat.
Want to capture the vibrant patterns of butterfly wings on a coaster?
With our cutting-edge printing techniques, you can create custom butterfly coasters with the deep colors and intricate patterns of real butterfly wings for a stunning aesthetic.
How To Make Decoupage Coasters Heat-Resistant?
Ensuring coaster decoupage projects are heat-resistant is the key to protecting the design from hot cups and condensation. Studies have found that, for most people, the optimal temperature for drinking hot beverages is around 60 °C (140 °F). While this may not be hot enough to damage your coaster, the drink will be considerably hotter when it is first placed on it.
Standard Mod Podge and acrylic sealers may not withstand high temperatures. If this is a concern, consider heat proof resin like:
- ArtResin
- EnviroTex Lite
Apply a thin layer of resin over the finished design, spread evenly with a brush or silicone spatula. The resin should cure for 24-48 hours before using the coasters. Heat-resistant polyurethane can be a good alternative.
Best DIY Gift Ideas Using Decoupage Coasters
Handmade decoupage coasters make thoughtful and personalized gifts for any occasion. You could think of a theme for yours, such as holidays, hobbies, or favorite colors. Let’s look at some examples:
- Mother’s Day: Floral or vintage prints work well for this.
- Housewarming gifts: Popular choices include nautical or rustic themes.
- Unique touches: Customize your coasters with monograms or meaningful quotes.
Package the coasters in a premium gift box and consider tying with a ribbon to enhance the presentation. You could even pair with a matching set of mugs or a small bottle of wine for a complete gift set.
Enjoy a rich pink hue in your own personalized coaster design
Decoupage is all about vibrant colors and beautiful patterns, and you can use our service to create custom pink coasters that capture that aesthetic in style.
Explore more herePopular Decoupage Coaster Designs And Themes
There are endless possibilities for designing decoupage coasters. With options for both classic and modern aesthetics, you could choose from popular designs like floral prints, vintage illustrations, or geometric patterns for a timeless touch.
Let’s look at some other ideas:
- Seasonal themes: Designs based on Christmas, Halloween, or summertime add festive charm.
- Minimalism: This can be achieved with monochrome patterns or elegant typography.
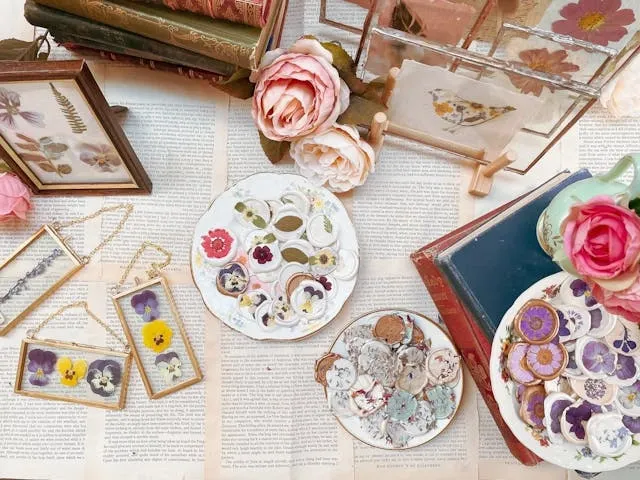
- Upcycling: Use old book pages, maps, or sheet music for a nostalgic feel.
- Contemporary aesthetics: Try bold, abstract designs for this look.
Eco-conscious designs can work well, and you can achieve them with recycled paper or sustainable materials like bamboo. There are countless coaster ideas for decoupage that allow for endless personalization and creativity.
What Are The Most Popular Floral Decoupage Coaster Designs?
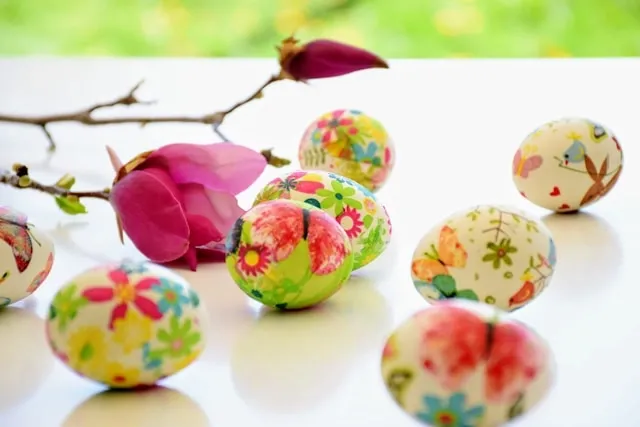
Floral coaster decoupage designs add a timeless and elegant touch to any space. Some of the most popular floral motifs include roses, sunflowers, peonies, and hydrangeas. Vintage-style floral patterns tend to feature muted tones and delicate details that match well with a shabby chic aesthetic.
If you prefer a modern look, bold botanical prints or watercolor floral designs create an eye-catching effect. Napkins and intricate floral borders add a touch of refinement, while pastel-toned florals align well with spring and summer themes. Alternatively, choose rich colors like burgundy or navy for fall and winter designs.
You could mix floral patterns with gold foil accents or lace textures to enhance the look. Take the DIY work out of the equation by designing custom flower coasters with us and enjoying the floral aesthetic you want in professionally-crafted products.

How To Add Cork Backing To Decoupage Coasters?
Adding a cork backing to decoupage coasters improves their functionality by preventing scratches and adding a non-slip grip. Cork is a great material to put on coaster bottoms, and the process is quite straightforward:
- Cut cork sheets or cork adhesive pads to match the coaster size.
- Use a ruler and a sharp craft knife for precise cuts.
- If using cork sheets, use a strong adhesive like E6000 or wood glue to secure the backing to the coaster.
- Press firmly and allow to dry completely before use.
Once attached, check for any overhanging edges and trim if necessary. A well-secured cork backing ensures the coasters remain durable and keep protecting surfaces for longer.
Frequently Asked Questions About Decoupage Coasters
What Are Decoupage Coasters?
Decoupage coasters are decorative drink coasters you can create by applying printed napkins, paper, or fabric onto surfaces like wood, ceramic, or tile using decoupage glue. You must seal the design with a protective coating.
What Is The Best Waterproof Sealant For Decoupage?
Waterproof decoupage coasters with clear acrylic spray, polyurethane, or epoxy resin. Mod Podge Dishwasher Safe also provides effective protection against moisture.